Welcome to my electronics blog! If you’re curious about printed circuit boards (PCBs) and want to dive into the world of single sided PCB, you’re in the right place.
Whether you’re a hobbyist, a student, or an industry professional, I’m here to explain everything in a simple, engaging way.
Single sided PCB are the backbone of many everyday devices, and they play a big role in India’s growing electronics manufacturing scene. Let’s break it down step by step, explore their benefits, manufacturing process, and why they’re so important.
What is a Single-Sided PCB ?
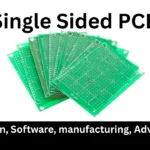
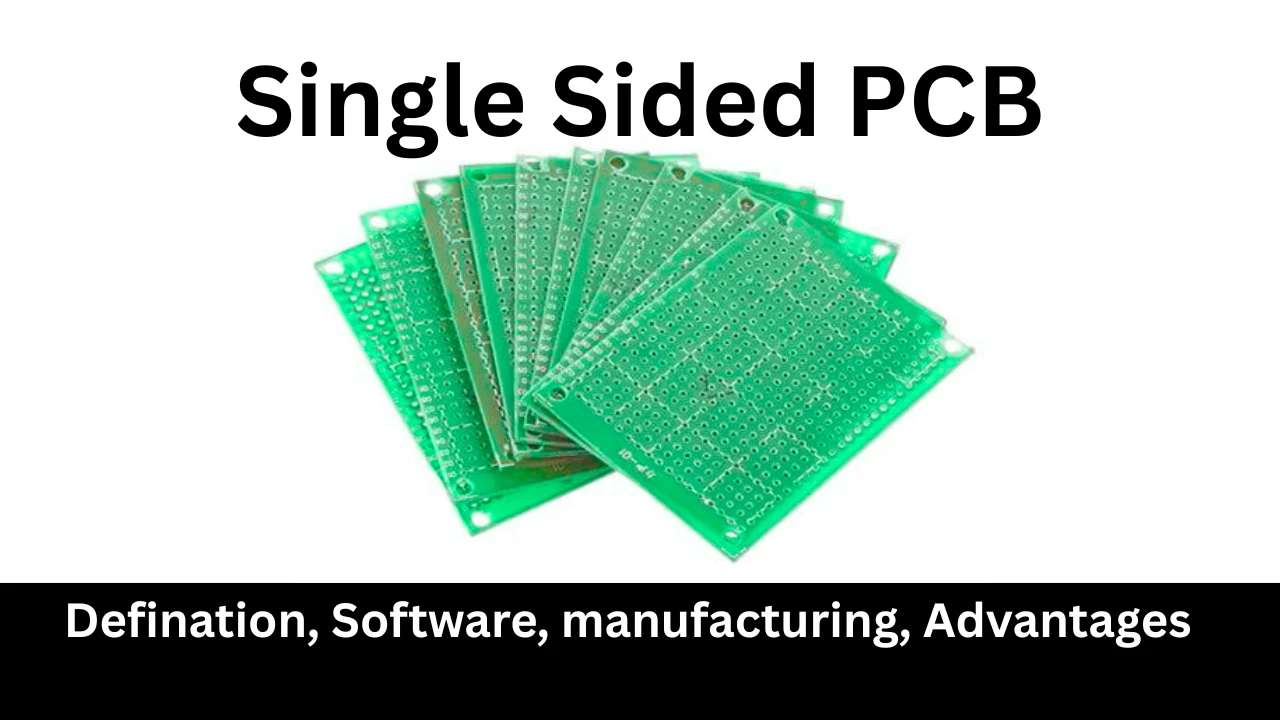
Imagine a single-sided PCB as the simplest form of a circuit board, like a one-page notebook for your electronics. It has one layer of conductive copper on a non-conductive base material (called the substrate, usually made of FR4 or glass epoxy).
All the electrical components, like resistors or capacitors, are soldered onto one side of the board, while the copper tracks on the other side form the circuit that connects everything.
Here’s a quick breakdown of its structure:
- Substrate: The non-conductive base (e.g., FR4) that provides strength and insulation.
- Copper Layer: A thin layer of copper etched into circuit patterns to connect components.
- Solder Mask: A protective coating (often green) that prevents short circuits and corrosion.
- Silkscreen: A printed layer for labeling components, making assembly easier.
Single-sided PCBs are perfect for simple, low-density circuits—think of them as the go-to choice for devices that don’t need complex wiring. They’re affordable, reliable, and widely used in everything from calculators to LED lights.

Software for PCB designing
Before you can manufacture a single-sided PCB, you need to design it, and that’s where PCB design software comes in.
These tools help you create the circuit layout, generate Gerber files (the blueprint for manufacturing), and ensure your design is ready for production. Whether you’re a beginner or a pro, there’s a tool for you.
Here’s a look at some of the best software options for designing single-sided PCBs, perfect for hobbyists, startups, and professionals in India:
KiCAD (Free, Open-Source), EasyEDA (Free, Web-Based), Eagle (Paid, Free Version Available), Altium Designer (Paid, Professional), Fritzing (Free, Open-Source)
Tips for Choosing Software
-
Budget: For hobbyists and startups, KiCAD and EasyEDA are cost-effective choices.
-
Ease of Use: Beginners should start with EasyEDA or Fritzing for their simplicity.
-
Compatibility: Ensure the software generates Gerber files compatible with Indian manufacturers like Robu.in or PCB Power.
-
Learning Resources: Look for tools with tutorials and community support, especially KiCAD and EasyEDA, which have active forums.
Why Single-Sided PCBs Advantages
Single-sided PCBs might sound basic, but they’re a powerhouse in electronics. Here’s why they’re so popular:
1. Budget-Friendly
Single-sided PCBs are the most cost-effective option because they use fewer materials and simpler manufacturing processes. For startups, hobbyists, or companies in India looking to keep costs low, they’re a game-changer.
2. Easy to Manufacture
With only one copper layer, these boards are less prone to errors during production. This means faster turnaround times and higher yields, which is great for meeting deadlines.
3. Reliable for Simple Designs
They’re ideal for low-density circuits where components don’t need complex connections. From a coffee maker to a car relay, single-sided PCBs deliver consistent performance.
4. Easy to Repair
Since components are on one side, troubleshooting and repairs are straightforward. This is a big plus for devices that might need maintenance over time.
5. Industry-Standard
Manufacturers in India and globally are familiar with single-sided PCBs, ensuring consistent quality and compatibility with standard production equipment.
6. Environmentally Friendly
With fewer materials and simpler processes, single-sided PCBs have a smaller environmental footprint compared to multilayer boards, aligning with sustainable manufacturing trends
Where Are Single-Sided PCBs Used?
You might be surprised to learn how many devices around you rely on single-sided PCBs. Their versatility makes them a staple in various industries:
- Consumer Electronics: Calculators, remote controls, coffee makers, and printers.
- Lighting: LED lighting systems, like streetlights or home decor lights.
- Automotive: Timing circuits, relays, and dashboard controls.
- Security Systems: Surveillance cameras and motion detectors.
- Entertainment: Radios, stereos, and toy circuits.
- Industrial Equipment: Sensors and control modules.
- Data Storage: Solid-state drives (SSDs) for basic applications.
These boards are everywhere because they strike a perfect balance between cost, functionality, and reliability.
The Manufacturing Process of Single-Sided PCBs
Let’s take a peek behind the scenes to understand how single-sided PCBs are made. This process is fascinating and shows why they’re so efficient. Here’s a step-by-step look:
1. Design and Layout
It all starts with a schematic created using software like Eagle, KiCAD, or Altium. The design specifies where components and copper tracks will go. A Gerber file is then generated, which acts as a blueprint for manufacturing.
2. Substrate Preparation
The FR4 substrate is cut to size. FR4 is a flame-retardant material made of woven glass and epoxy, providing strength and insulation.
3. Copper Cladding
A thin layer of copper is laminated onto one side of the substrate. This copper will form the circuit paths.
4. Photoresist Application
A light-sensitive photoresist film is applied over the copper. A mask with the circuit pattern is placed on top, and the board is exposed to UV light. The exposed areas harden, while unexposed areas remain soft.
5. Etching
The board is dipped in a chemical solution (like ferric chloride) to remove unhardened copper, leaving only the desired circuit paths.
6. Solder Mask and Silkscreen
A solder mask is applied to protect the copper tracks and prevent short circuits. Then, a silkscreen layer is added to label component placements (e.g., “R1” for a resistor).
7. Drilling and Cutting
Holes are drilled for through-hole components, and the board is cut to its final shape.
8. Surface Finish
A surface finish (like HASL or lead-free HASL) is applied to the copper to prevent oxidation and improve solderability.
9. Testing
The board undergoes electrical testing to ensure there are no open or short circuits. Automated optical inspection (AOI) may also be used to check for defects.
10. Assembly
Components are soldered onto the board, either manually or using surface-mount technology (SMT) for high-volume production.
This streamlined process makes single-sided PCBs quick to produce and cost-efficient, which is why they’re a favorite for prototyping and mass production in India.
Challenges and Considerations for Single-Sided PCBs
While single-sided PCBs are fantastic, they’re not perfect for every project. Here are some points to keep in mind:
- Limited Complexity: They’re not suitable for high-density or multilayer circuits, like those in smartphones.
- Space Constraints: With components on one side, larger boards may be needed for complex designs.
- Delivery Times: In India, lead times can vary (e.g., 20 days for Robu.in orders), so plan accordingly.
- Color Accuracy: Some users report receiving boards in different colors than ordered (e.g., green instead of red), so confirm with the manufacturer.
Conclusion
Their straightforward design and cost-effective manufacturing process make them ideal for prototyping and small-scale production, especially in India’s growing electronics industry, bolstered by initiatives like Make in India.
Whether you’re a hobbyist, student, or professional, single-sided PCBs provide an accessible entry point to bring your ideas to life.
If you liked this article, don’t forget to check back daily!
I regularly post updates on the latest trends in electronics, new product launches, tech innovations, industry news, and updates from electronic companies.
Follow the blog or bookmark this site to stay ahead in the world of electronics!
Feel free to share this article on your favorite social media platforms!